Use the Rectangle toolto draw a rectangle above the eye.
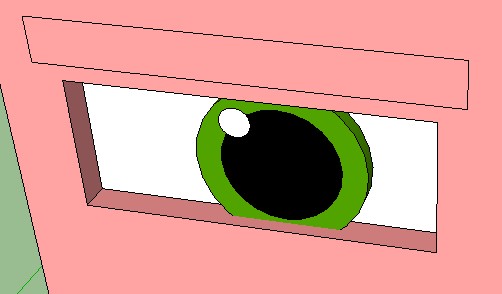
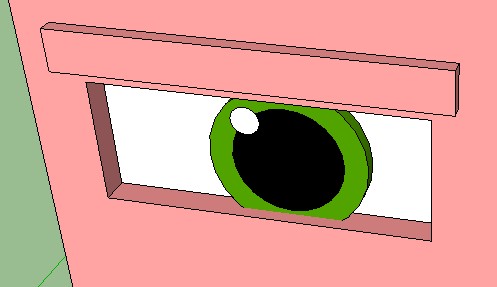
Use the Push/Pull tool
to pull the rectangle outward to create a rectangular prism, 1/8" or 1/4" will do nicely. (Remember, if you can't get the exact distance you want, just enter the distance immediately after the push/pull, e.g. 1.8" or 1.4" and SketchUp will take this value.)
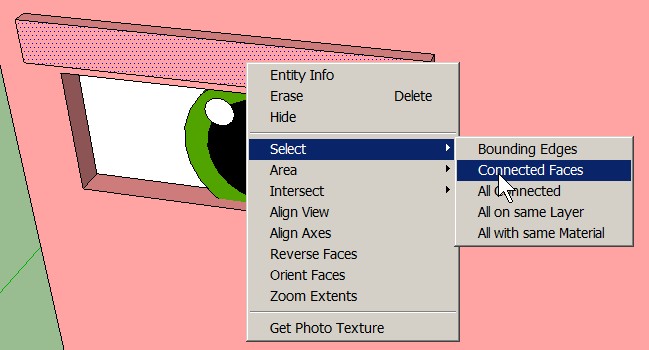
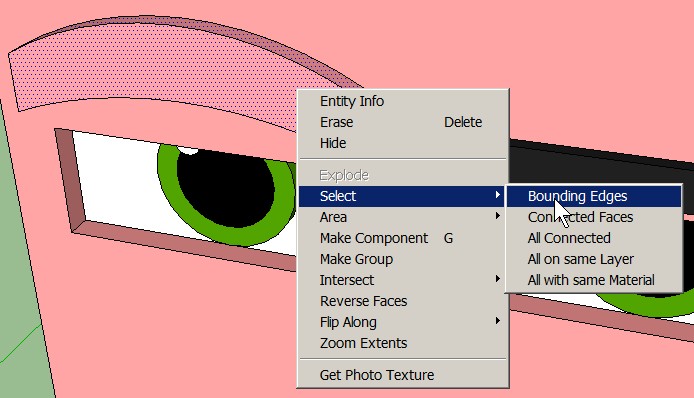
Right-click on the surface you pulled out, and Select > Connected Faces from the pop-up menu:
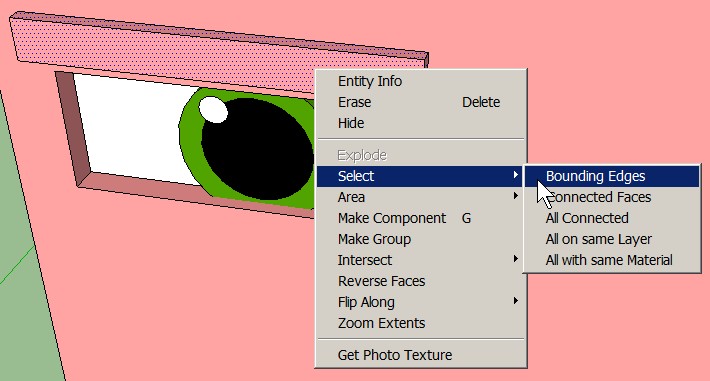
Right-click again on the same surface and Select > Bounding Edges from the pop-up menu:
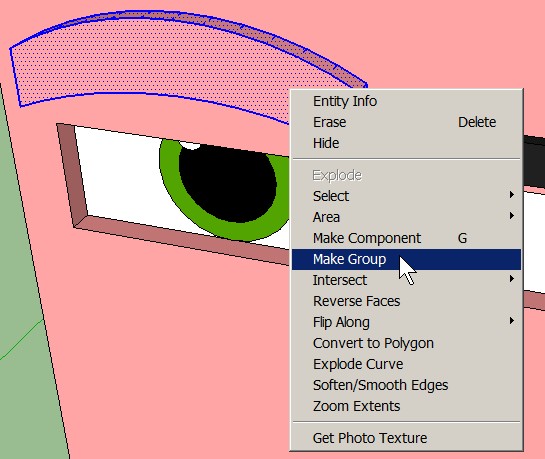
Right-click again on the same surface and select Make Group from the pop-up menu:
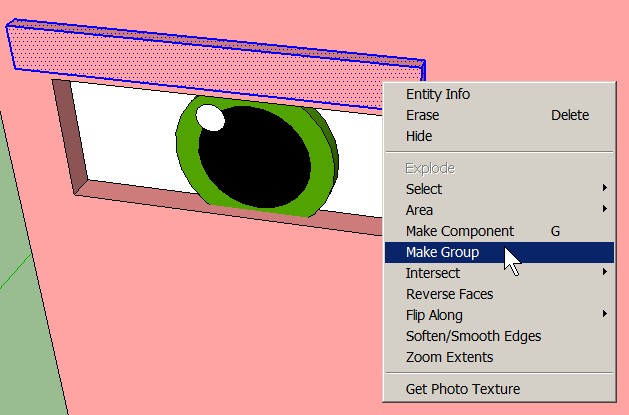
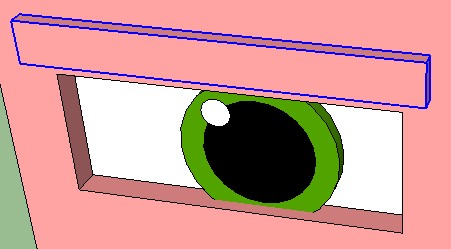
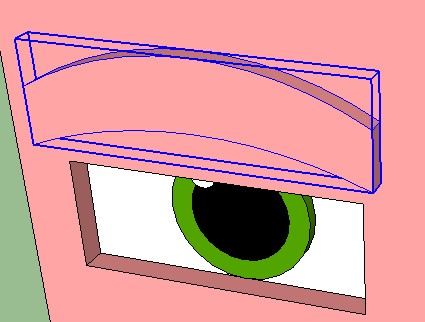
Which creates a group containing the eyebrow elements:
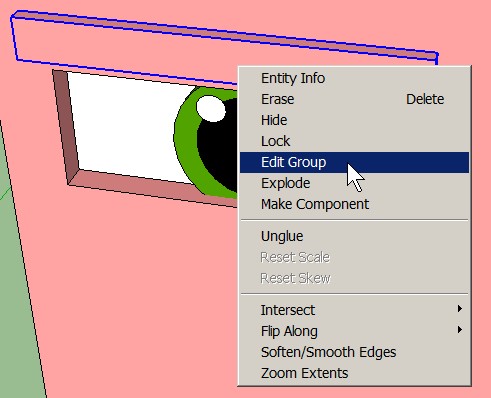
Next step, edit the eyebrow group to change color!
Right-click on the eyebrow group and select Edit Group:
SketchUp's default edit mode setting is to ghost the rest of the model, which is still visible:
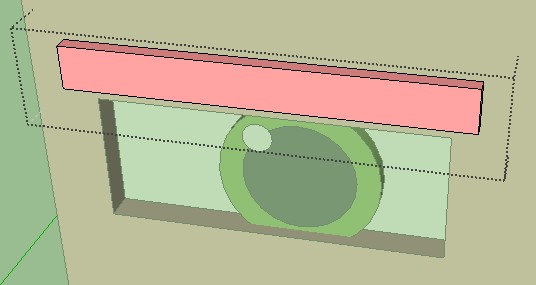
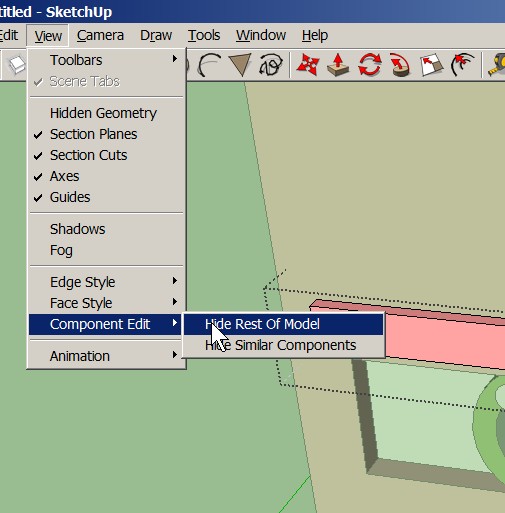
...but sometimes you want a clear view of the group of elements you're editing, so you can hide the rest of the model by selecting text menu View > Component Edit > Hide Rest Of Model:
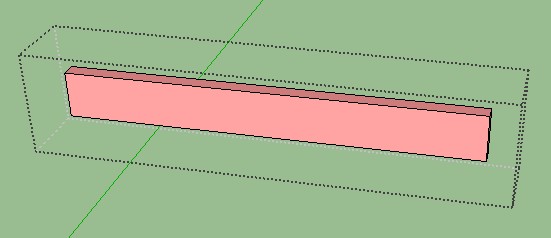
...so all you see now are the elements in the group being edited. Not really too important in this small example, but with a more complex model a clearer view could help.
Note, the reverse is also true, sometimes you will need to see the rest of the model in order to relate elements to one another. In this snapshot from Sword Princess Yukisaki, I had to pose the characters so their hands were touching. I unticked Hide Rest Of Model so Lady Jondo was visible outside of the current group edit, and I could pivot Lord Jondo's arm into the right position. 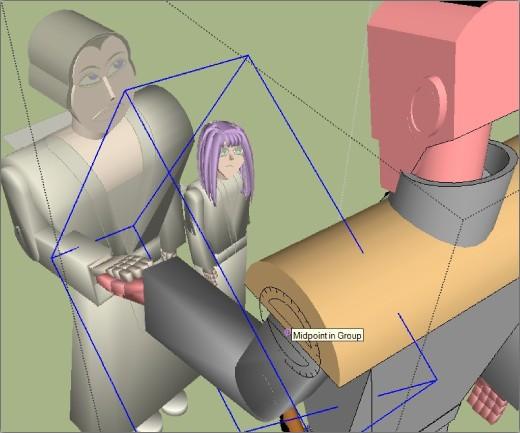
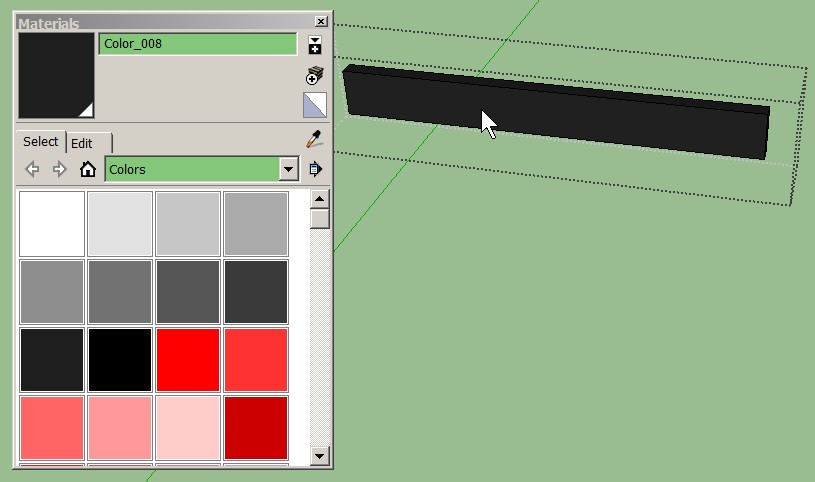
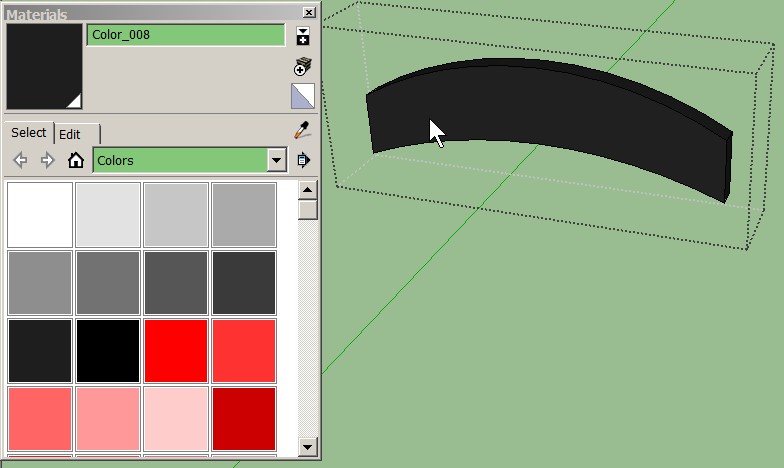
Use the Paint Bucket tool
to color the eyebrow elements. Pick the color of your choice. Hold down the Ctrl key and select any element in the group to paint all adjoining surfaces at once.
Close the group (leave group edit mode) by right-clicking just outside the group elements and selecting the Close Group pop-up:
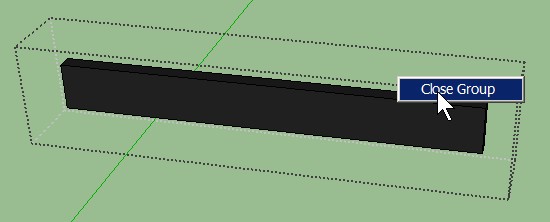
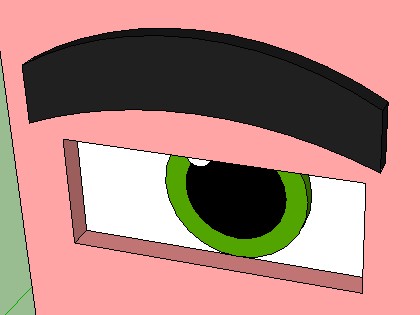
The eyebrow is colored!
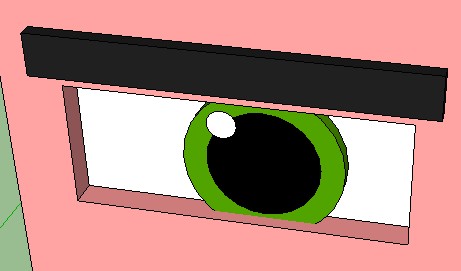
All this to create an eyebrow?! Again this is a baseline component that can be copied and used over and over in other character groups.
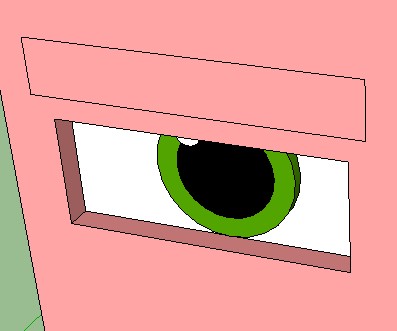
Curved Eyebrows
Just for fun -- curved eyebrow variant.Use the Rectangle tool
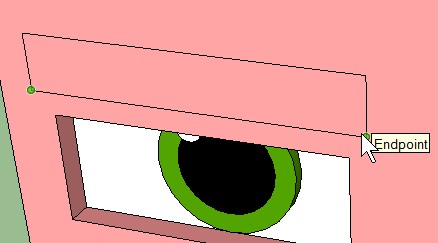
Select the Arc tool
and select the bottom left corner point of the rectangle:

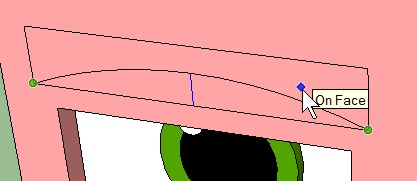
Select the bottom right corner point of the rectangle:
Move the cursor upward, the arc line will follow this movement. Left-mouse-click on the face to fix the arc.
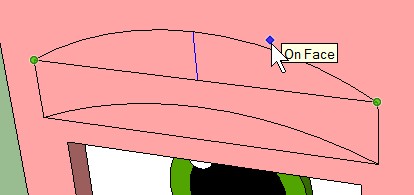
Repeat this operation using the top left and right corners of the rectangle. Select the corners, then move the cursor upward, the arc line will follow this movement. Left-mouse-click on the face surface to fix the arc.
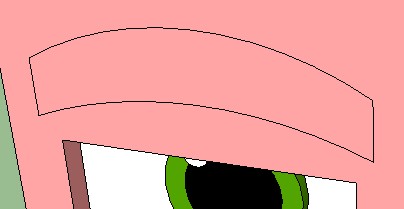
Use the Eraser tool
to delete the rectangle's horizontal lines, leaving the arcs and the vertical lines to make the outline of a curved eyebrow:
Use the Push/Pull tool
Right-click on the closest surface of the eyebrow and Select > Connected Faces:

Right-click on the same surface of the eyebrow and Select > Bounding Edges:
Right-click on the same surface of the eyebrow and select Make Group:
The curved eyebrow group is created:
Right-click on the eyebrow group and select Edit Group, then use the Paint Bucket tool to color the eyebrow (hold down the Ctrl key and select any element to color all elements at once).
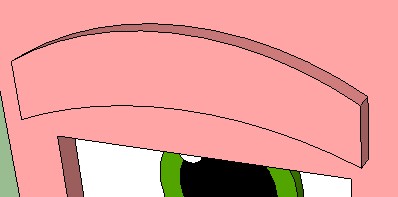
Right-click just outside the eyebrow elements and select Close Group to exit group edit mode:

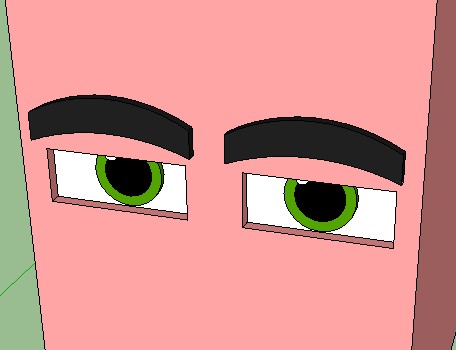
And the curved eyebrow is completed:
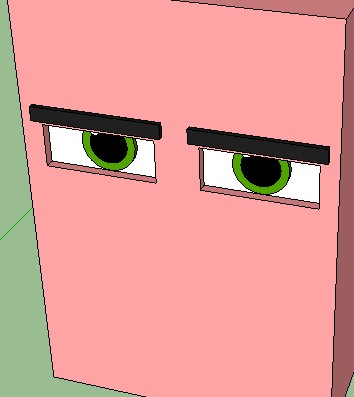
Here's how 2 eyebrows look (you'll see how to copy the eye and eyebrow in the next step):
SAVE THE MODEL.
Next step: Copying Eyes & EyebrowsIntro | Heads | Eyes | Eyebrows | Copying Eyes & Eyebrows | Noses | Mouths | Hair & Ears